Deviation Actions


Description
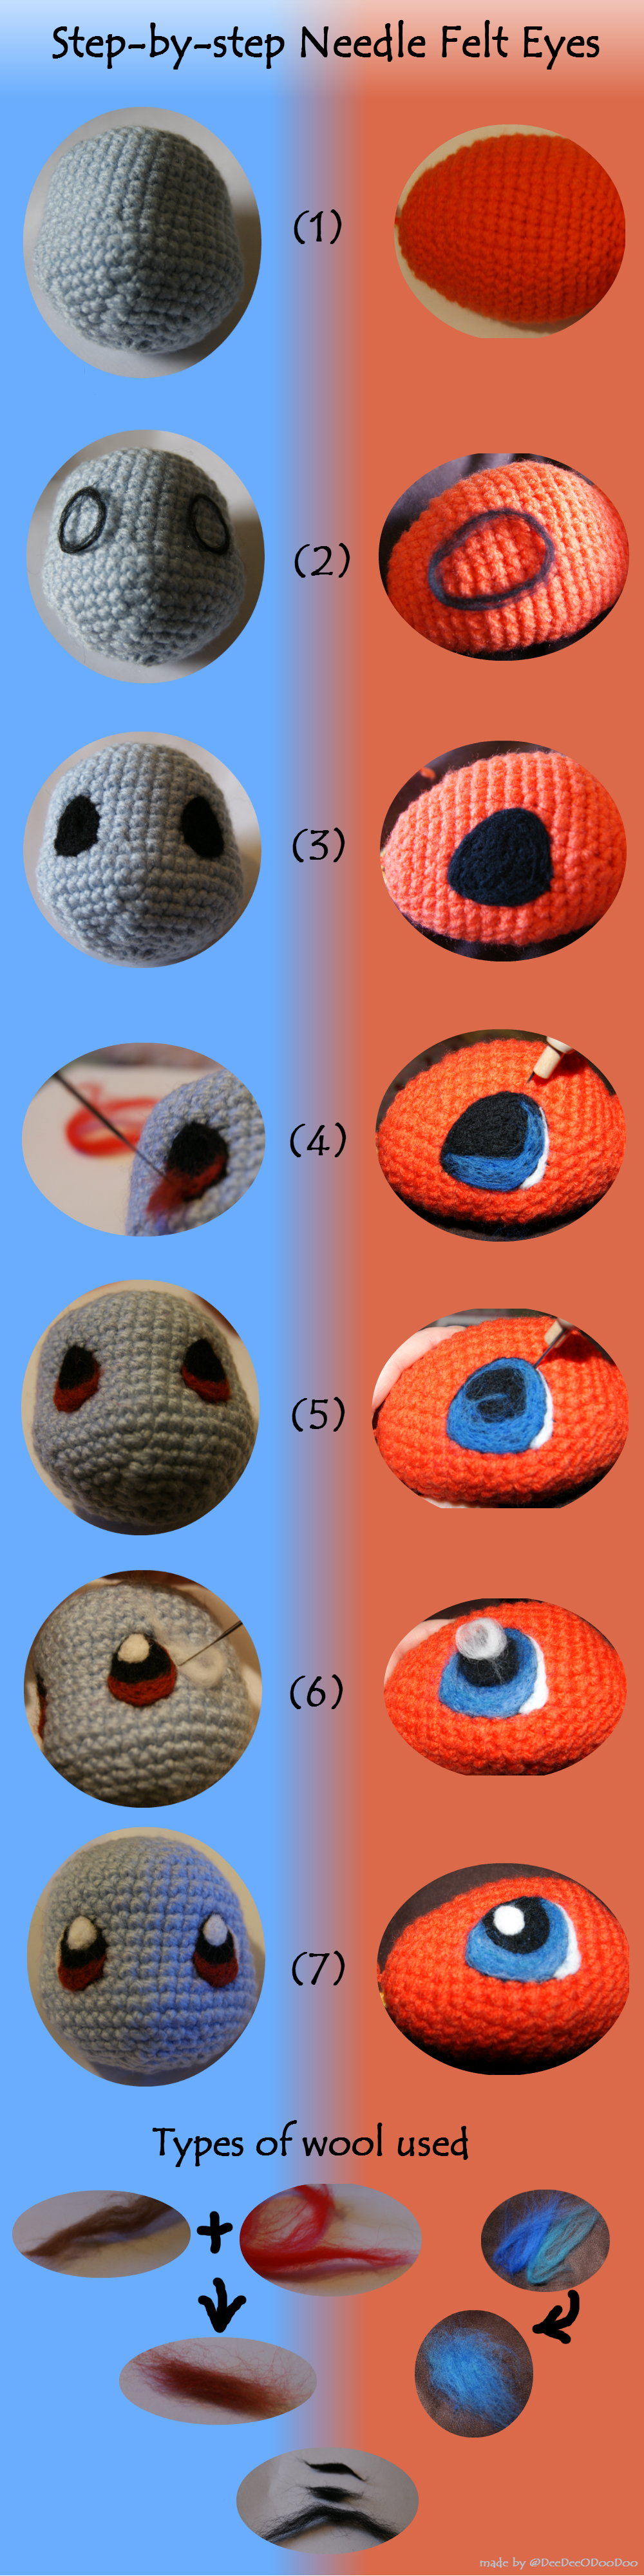
Hi everyone! This is my step-by-step guide on how I needle felted the eyes onto my Squirtle and Charmander. I do not profess to know a lot about felting (I’m a complete beginner); there may well be better ways of doing it but this is just the way I achieved the eyes. If you have any suggestions or advice please add them in the comments ![]()
Process:
Step 1: Gather all material – plushie; felting needle; different coloured carded wool. I worked on a cushion to help hold the head into place.
Step 2: Using thin lengths of wool make the eye outline. Poke the needle through the plushie along the outline of wool while guiding the wool into the desired shape.
Step 3: Once happy with your outline begin to fill in the area with the base colour, eg black, until it’s all the same thickness and no yarn is visible.
Step 4: Begin adding the layers of coloured wool to get the shape of the iris. I used mixed colours for both plushies and added a little white over the blue for Charmander as I went along.
Step 5: Once you have enough colour it’s time to clean up the eye and give it definition. You can twist a length of black, curve it over the iris edge and using the needle poke it into place. This gives a well defined outline to the pupil. This is great especially if you over did it with the colour like I did for Charmander!
Step 6: For the white inner eye I shaped the wool into a circle and then built the layers up. For the white along the edge of the eye I used a length of wool, worked from the edge of the eye outwards and shaped it gradually.
Step 7: Finished! You should have really cute realistic looking eyes.
Types of wool used:
It doesn’t matter if you’re limited with colours – much like paints you can mix the wool to achieve whatever colour you want. I mixed brown and red to get a nice auburn colour for Squirtle. For Charmander I found my blue was too stark, I wanted a more natural toned blue colour. For this I mixed blue and a kind of teal colour. This resulted in a beautiful shimmery blue.
To mix simply take both colours between your thumb and index fingers of both hands and pull apart, then place both sets of the wool on top of each other; repeat and repeat until wool is so well mixed that you can’t identify the original colour as shown in the pics.
I’ve also included the different ways to shape the wool for. You can have long loose strands, short pieces or rolled up lengths as well as circular shapes as shown in step 6.
Hints!
Tip #1: Work on one eye at a time, one step at a time. Only once you’re happy with both eyes proceed to the next step. That way you’ll have a more consistent result.
Tip #2: If mixing wool to get a desired colour make sure to mix a batch large enough for both eyes. Otherwise you could end up with subtly different coloured eyes tones.
Tip #3: Symmetry is important and it can be tricky to keep both eyes the same shape! When positioning the eyes try to position the top and base of the eye on the same row of stitches. To maintain the same eye shape try to cover the same number of stitches.
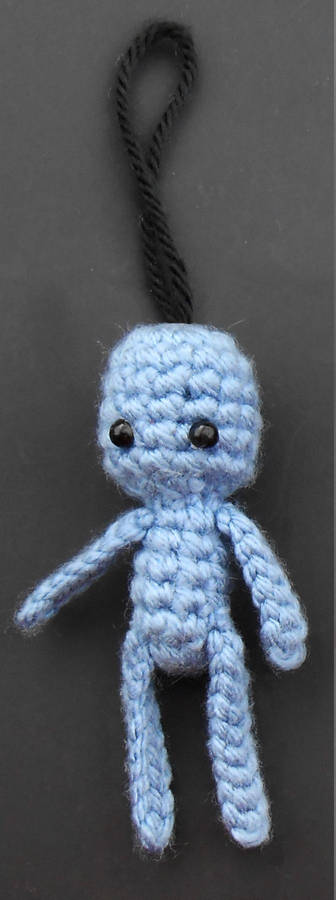
Thanks to  – I was working off her Squirtle and Chamander patterns.